Blogs / How To / How to Download Android Studio and Install?
Blogs / How To / How to Download Android Studio and Install?

Ananya Dasgupta
11 Jan 2024

How to Download Android Studio and Install?
Table of Contents
- Step 1: Visit The Official Website and Download the Android Studio
- Step 2: Open The Downloaded File and Run It on Your Laptop
- Step 3: Select Components and Start Installation by Clicking on ‘Next’
- Step 4: Browse The Location Where You Want to Install
- Step 5: Select a Start Menu Folder and Click on Install
- Step 6: Tap The ‘Next’ Button After Set-Up Is Done and Again Click on ‘Finish’
If you have very minimal or no experience in coding yet desire to build your own Android app, fear not; there’s a free ticket to your app-building endeavor! It’s the Android Studio, an integrated development environment (IDE), which helps streamline an app development process throughout! So, if you want to download the Android Studio on your Windows 10 laptop and see how it works, this blog can take you through it!
Step 1: Visit The Official Website and Download the Android Studio
Your primary step is to go to the official website of the Android Studio from your web browser. Can you see the ‘Download Android Studio’ Button? Click on it to get the software file on your Windows laptop. A terms and conditions page shall pop up. Here, you have to tick the checkbox beside “I have read and agree with the above terms and conditions” and further click on the ‘Download Android Studio for Windows’ option. Now, another prompt box appears on the screen with the ‘Save File’ option, where you have to click to start downloading.
Step 2: Open The Downloaded File and Run It on Your Laptop
Once downloading is complete, go to your ‘Downloads’, navigate and open the file, and run it on your laptop. The file shall come up with the name ‘Android Studio-ide.exe’. Remember, you have to double-click to run it! Hereafter, a dialog box shall emerge with boldly written “Welcome to Android Studio Setup” and other guides like closing other applications before you set up this software, and so forth! What you have to do is navigate to the ‘Next’ button, right in between the ‘Back’ and ‘Cancel’ options!
Step 3: Select Components and Start Installation by Clicking on ‘Next’
Next, another prompt box shall appear on the screen for you to choose components. In this step, you must select from the checkboxes – ‘Android Studio’ and ‘Android Virtual Device’, thereafter clicking on the ‘Next’ button.
Step 4: Browse The Location Where You Want to Install
Herein, another prompt box for ‘Configuration Settings’ shall be displayed. You have to browser the laptop location where you intend to install the Android Studio and further tap on the ‘Next’ button to proceed.
Step 5: Select a Start Menu Folder and Click on Install
Your further step is to choose a “Start Menu folder” where you seek to create the Android Studio shortcuts. You can even create a new folder for it if that suits you! Once done, you need to tap the ‘Install’ button to initiate the installation process.
Step 6: Tap The ‘Next’ Button After Set-Up Is Done and Again Click on ‘Finish’
When the installation stands successful, it shall show up on the screen with the full green bar and written on top of it in bold – Completed! Here, you have to click the ‘Next’ button to fetch the final prompt box. Once you see it, tick the box beside “Start Android Studio” and hit the ‘Finish’ button.
Congratulations! The download and installation of Android Studio are successful, and it shall start now. But wait! You have to take care of the set-up configuration as the welcome wizard pops on the screen. So, here are a few more steps to follow!
- You must click the ‘Next’ option on the prompt box named ‘Android Studio Setup Wizard.’
- Then, you get two options to choose from – the ‘Standard’ and ‘Custom’. If you’re a beginner, selecting the former is a better choice! Now, you need to click ‘Next’ again.
- The next step is to select your desired UI theme. Once you’re done, hit the ‘Next’ button.
- The ‘Verify Settings’ prompt box takes the stage, where you must click on the ‘Finish’ button to download all your SDK components. When this component's downloading process is over, you have to take the final step and tap ‘Finish’!
Are you ready to start your Android Studio projects? This integrated software suite is in your system now!
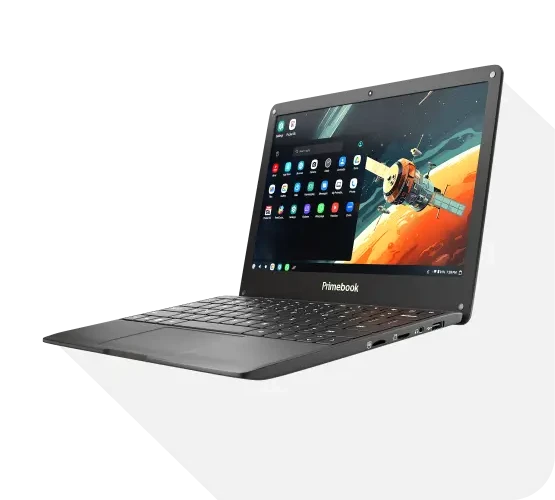
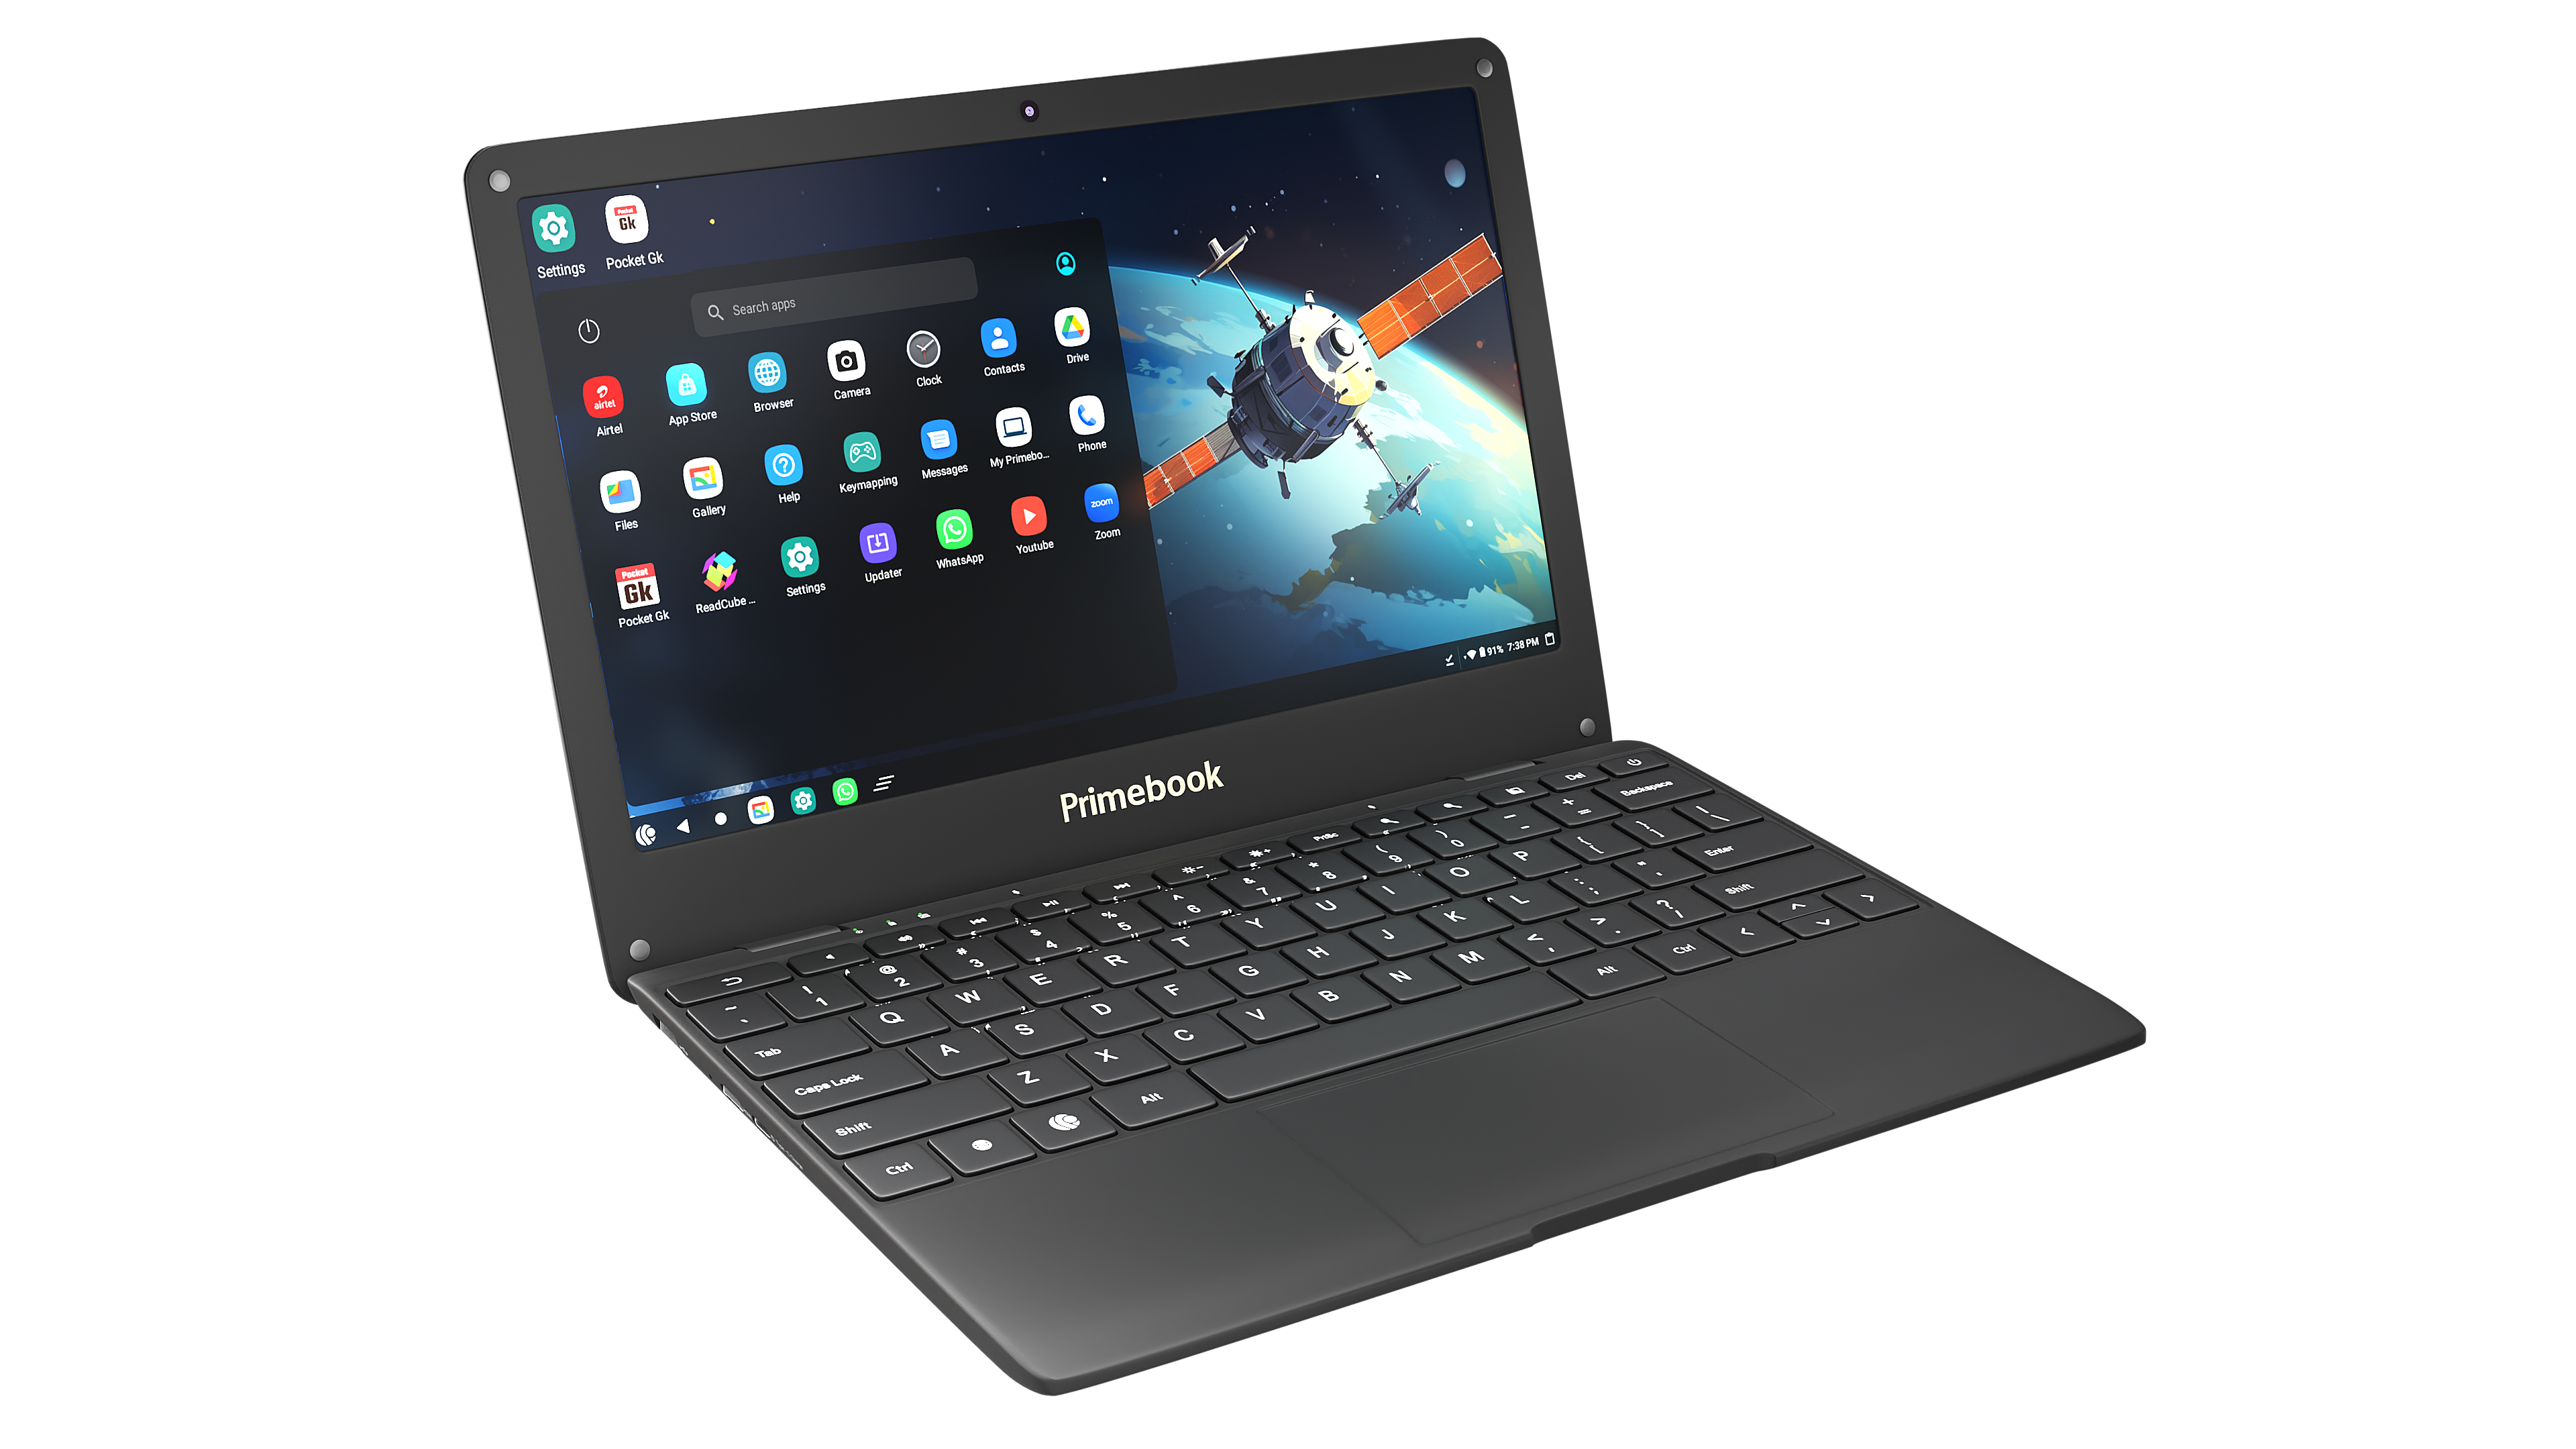
To wrap up, I must say that – even though anyone can download Android Studio on their laptop and use it, being free and open source, the process is a bit lengthy and confusing. This is especially true for newbies! In this blog, I have tried to simplify the process for you, but still, if you’re looking for a better alternative, there’s one for you! It’s the Primebook laptop. This laptop, coming at a price below Rs. 15,000, works on an Android-based operating system, PrimeOS, and has most of the built-in app development tools you find on Android Studio. Isn’t That Better?


 Related Blog


